Menu Manager Guide
What is the Menu Manager?
The Menu Manager from Tyro Connect is a central tool for managing your online menu. It has been developed to reduce the day-to-day hassle of looking after your online menus.
With Menu Manager, you simply maintain a single version of your menu and we take care of sharing it with all of your food ordering partners automatically.
How to use the Menu Manager
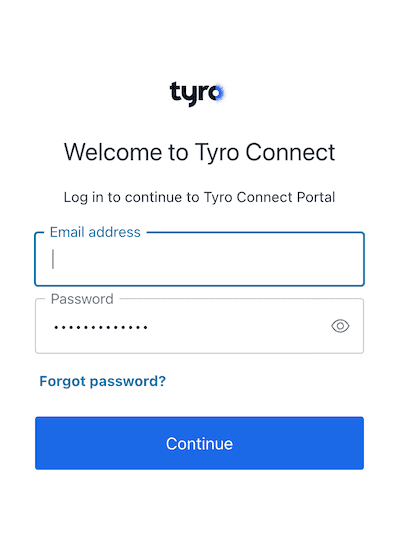
- Log into the Tyro Connect Portal - https://portal.connect.tyro.com
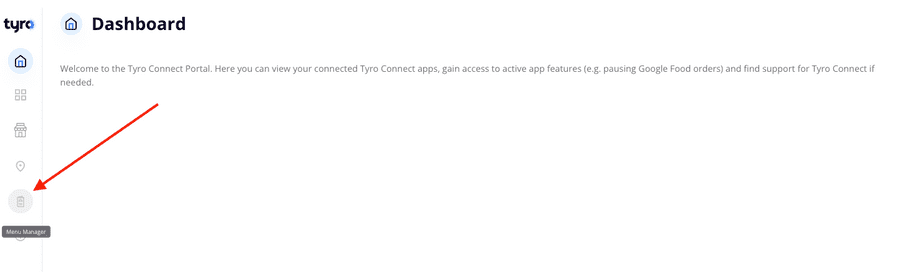
- Click on the Menu Manager icon on the left side bar. Or go directly there via https://portal.connect.tyro.com/manage-menu
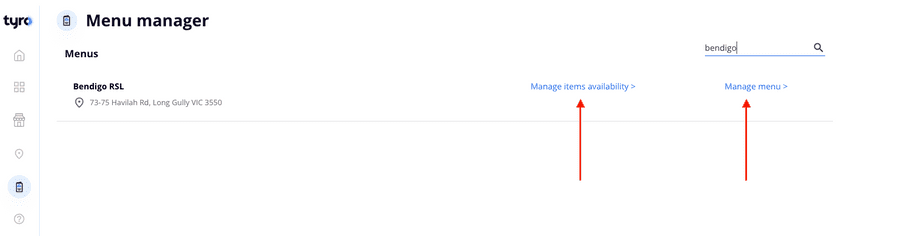
- All your locations with Tyro Connect POS integration will be listed here.
- Click on ‘Manage Menu’ to view and edit your menu.
- Click on ‘Manage items availability’ to control your menu availability (Hubster customers will do this via the Hubster Tablet instead).
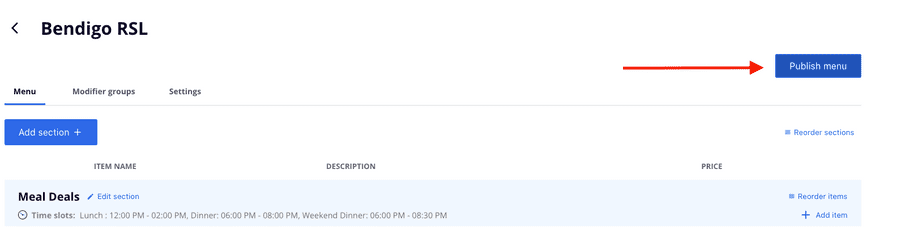
- Menu tab – your full menu is listed here. You can make changes to your menu and click ‘Publish menu’ to update all connected Food Ordering Partners/Apps.
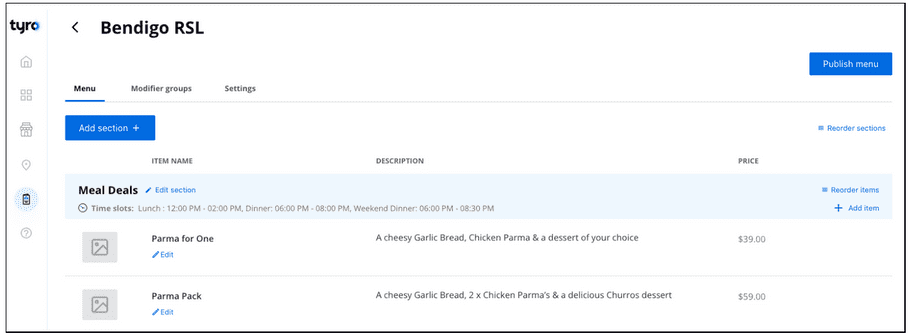
- Click Edit – to change or edit an individual menu item.
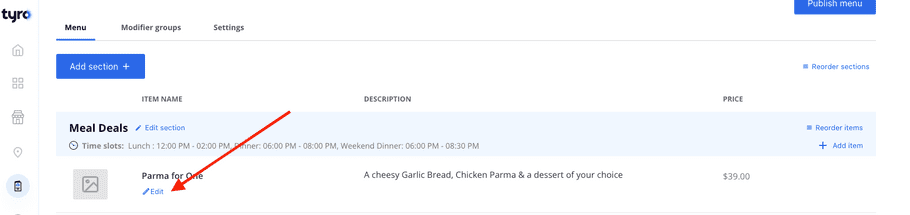
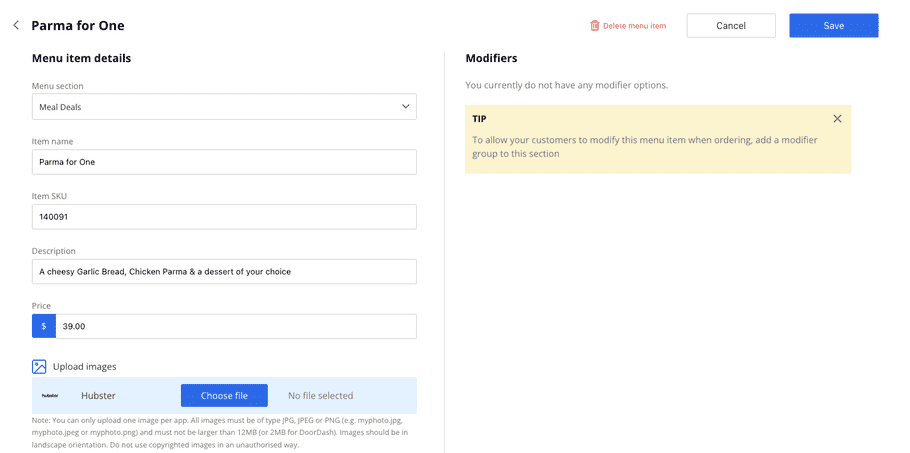
- In Edit Menu Item – you can change the item name, item code from the POS (PLU), description, price, image and modifiers (for steps on managing ‘Modifiers’ see the next section).
Notes on images:
- Images will need to be in JPEG format and be at least 1400px wide by 800px high.
- You will need to be authorised to use each image for each food ordering app.
Click 'Save’ to save your changes.
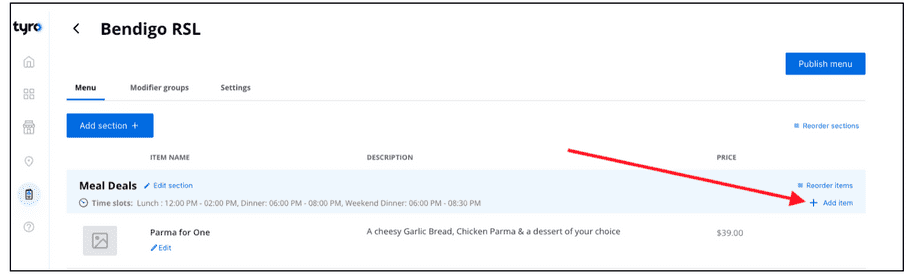
- Click ‘Add item’ to add a new menu item to that section
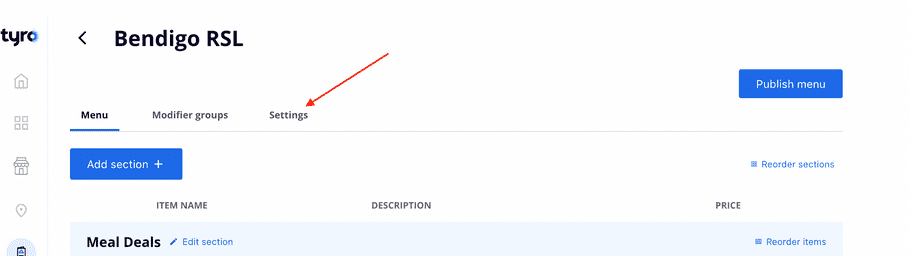
- Settings – edit or create Time Slots for your menu to be available on your connected food ordering apps. The Settings tab will also show the food ordering apps that your menu is connected to.
- Publish your menu – Click ‘Publish menu’ to update to your connected ordering apps.
Modifiers - create options for your customers
To create options for your menu for the customer to choose, you need to have ‘Modifiers’. These are managed in the ‘Modifier Groups’ tab.
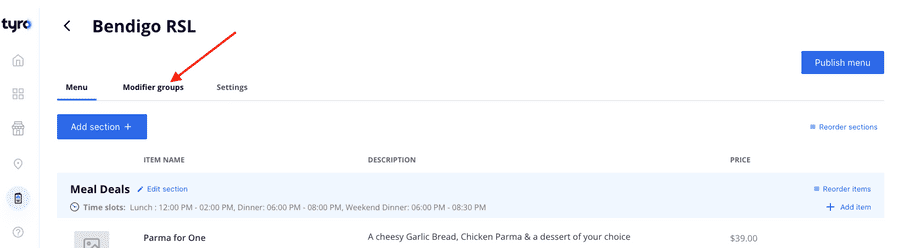
Modifier groups
See the video here for a step-by-step guide on how to create modifiers
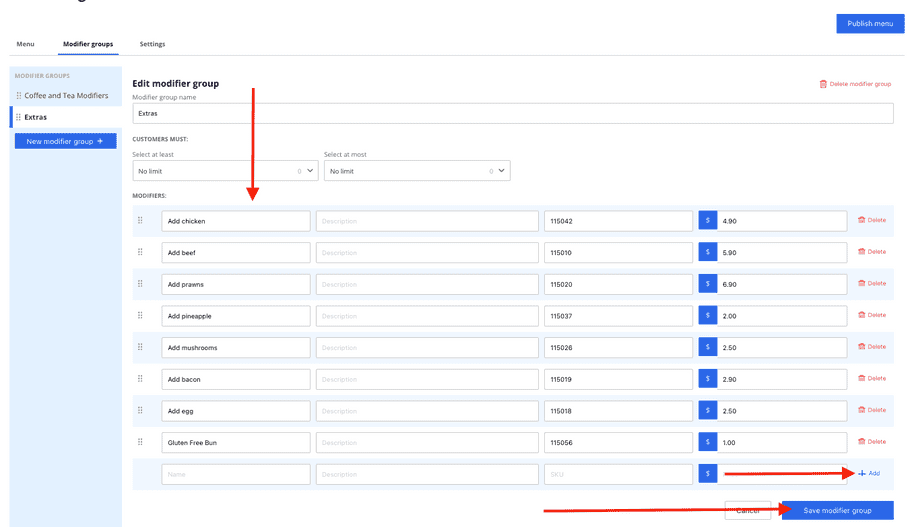
- Click ‘+ Add’ AFTER you create your new modifier to save the item. Otherwise your modifier will not save.
- Click ‘Save modifier group’ at the bottom to save all changes.
- ‘Select at least’ - this is the minimum amount a customer can select. Or you can leave this as ‘No limit’.
- ‘Select at most’ - this is the maximum amount a customer can select. Ensure the amount is not more than the available options.
Video guide - Create modifiers
Adding a modifier group into the menu -
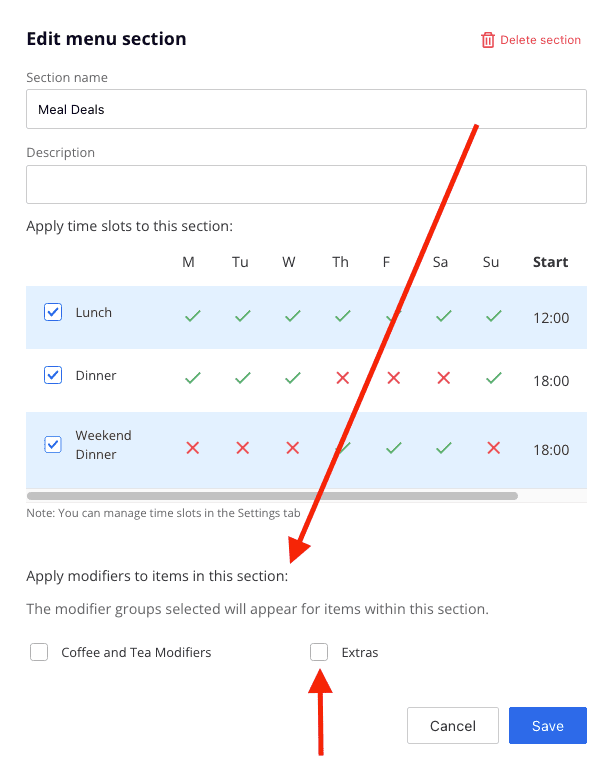
- From the main ‘Menu’ page click ‘Edit section’.
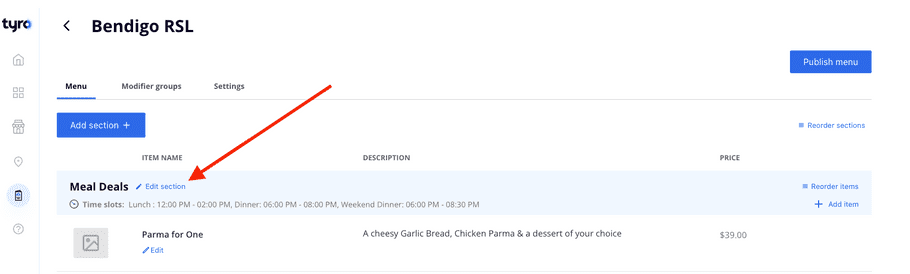
- A pop up will appear – scroll down to ‘Apply modifiers to items in this section’ to add/delete modifiers for that section.
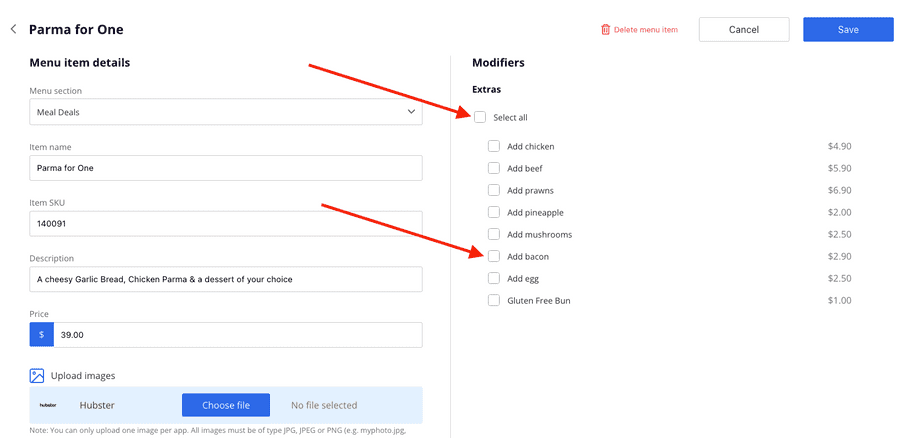
- Applying a modifier to an item – click ‘Edit’ under the item you want to add the modifier to.
-
The modifiers you selected in step 2 above will show on the right.
Click ‘Select all’ to apply all modifiers to the menu item for the customer to choose from. Or select the individual modifiers you want the customer to see.
Re-ordering content
Now that you've finished your menu, it's time to polish it up. A very common task will be to re-order the content in your menu.
Through a simple 'drag and drop' interface you are able to re-order everything in your menu to suit your needs.
Example 1: Re-order modifier groups video - click here
Example 2: Re-order menu sections - click here
Other functionality of the portal - Locations tab
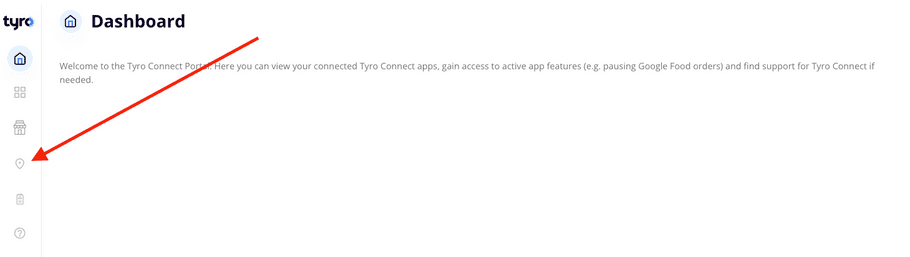
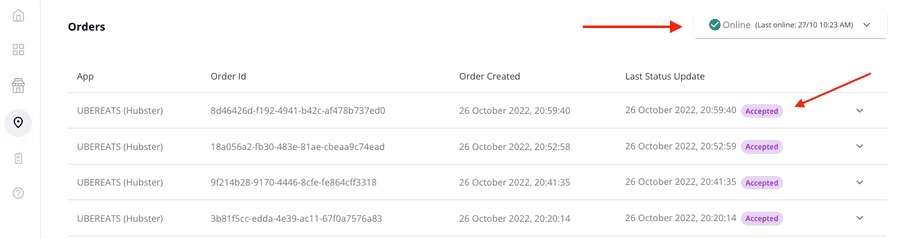
Click on the ‘Locations’ tab on the left side menu to view your orders and connection status.
Note: ‘Unknown’ status means this functionality is not available.
Click on your Location.
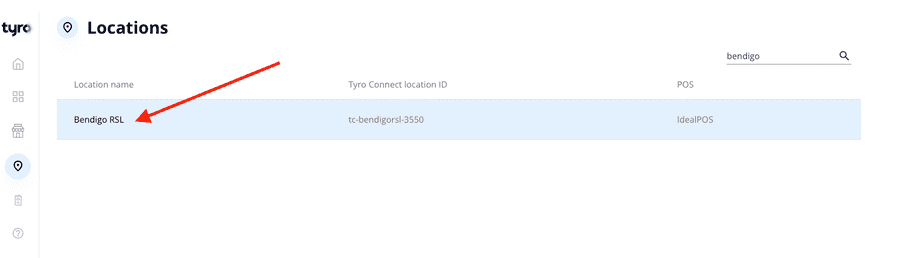
View your connection status (if functionality available) and your orders.
For more information:
If you have any further questions or to raise a support request, please email connect-support@tyro.com